

Build Your Own AI Code-Reviewer
In this journey, I embarked on creating a plugin for my IDE, designed to highlight code snippets and provide insights on their function, quality improvement, and refactoring potential.
Why Build Your Own?
Here are compelling reasons to consider:
- A local LLM (Large Language Model) guarantees your privacy.
- The absence of a suitable plugin for your specific IDE.
- Desire to customize the LLM's role and focus.
- Interest in leveraging open-source LLMs for experimentation.
- Curiosity to explore various LLMs.
If these resonate with you, prepare for a rewarding endeavor!
The Steps Involved
- Choosing the Right LLM
- Setting Up the LLM
- Mastering LLM Interactions
- Crafting Your IDE Plugin
- Refining the Outcome
Choosing the Right LLM
Limited by my hardware, I sought LLMs that were compact, efficient, and specialized in coding. I discovered a helpful list by continuedev and chose Deepseek Coder.
Setting Up the LLM
My go-to was LM Studio. Keep these points in mind:
- LLMs come in Base and Instruct types: Base excels in completing code, while Instruct is adept at writing from scratch.
- Quantization affects the LLM's performance, balancing inference quality, speed, and resource usage.
Tip: For a 7B model, a q4_K_S quantization is recommended.
Interacting with the LLM
LM Studio facilitates interactions similarly to the OpenAI API. Here's a sample interaction using curl or Httpie:
{
  "messages": [
    { "role": "system", "content": "Review my code as an expert senior developer. Be critical. Focus on readability and maintainability. Refactor if needed." },
    { "role": "user", "content": <code snippet> }
  ],
  "temperature": 0.7,
  "max_tokens": -1,
  "stream": false
}
Define the LLM's behavior as 'system' and input your code snippets as 'user'.
Note: Code must be properly escaped for POST HTTP requests.
Building Your IDE Plugin
I developed a plugin for LazyVim using neovim. Here's the process:
- Initialize your plugin on GitHub.
- Start with a simple echo function.
- Install the plugin in LazyVim (
~/.config/nvim/lua/plugins/).
# reviewer.lua
return {
  {
    "daneb/reviewer.nvim",
  },
}
- Enhance the plugin functionality (see Reviewer.nvim).
- Use LazyVim to sync plugin updates.
- Implement keymapping (located in
~/.config/nvim/lua/config/keymaps.lua).
vim.api.nvim_set_keymap(
  "v",
  "<leader>lm",
  ':lua require("reviewer").main_function()<CR>',
  { noremap = true, silent = true, desc = "AI Reviewer" }
)
Tweaking the Result
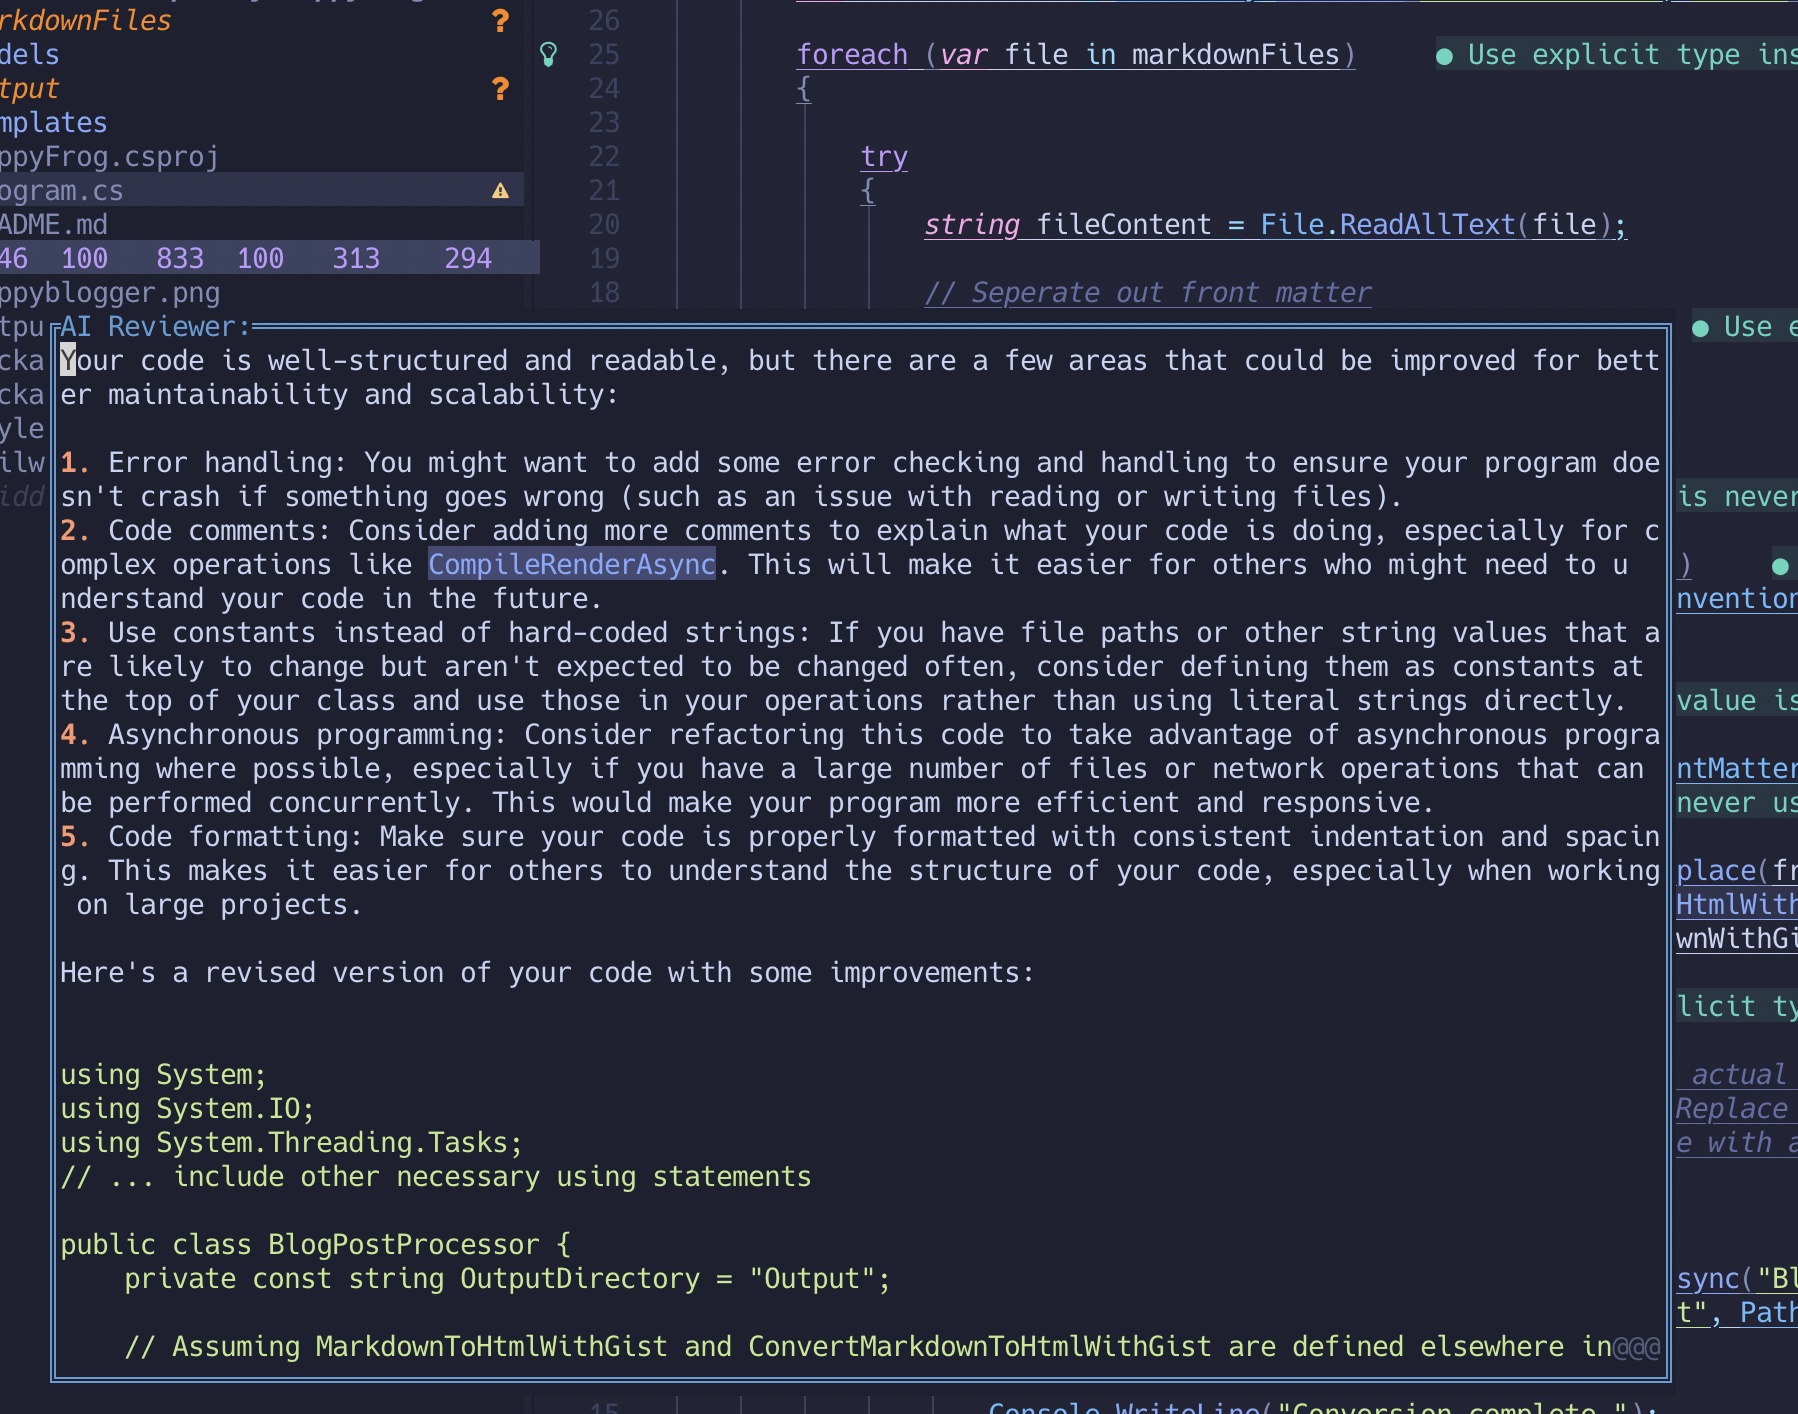
Your plugin, now functional in your IDE, can be aesthetically enhanced with features like window sizing, colors, and borders.
Challenges remain, such as ensuring proper code snippet escape, particularly with regex. Initially, I used a curl call instead of the built-in neovim HTTP API.
It's a work in progress, but it's an accessible, enjoyable, and fulfilling project!